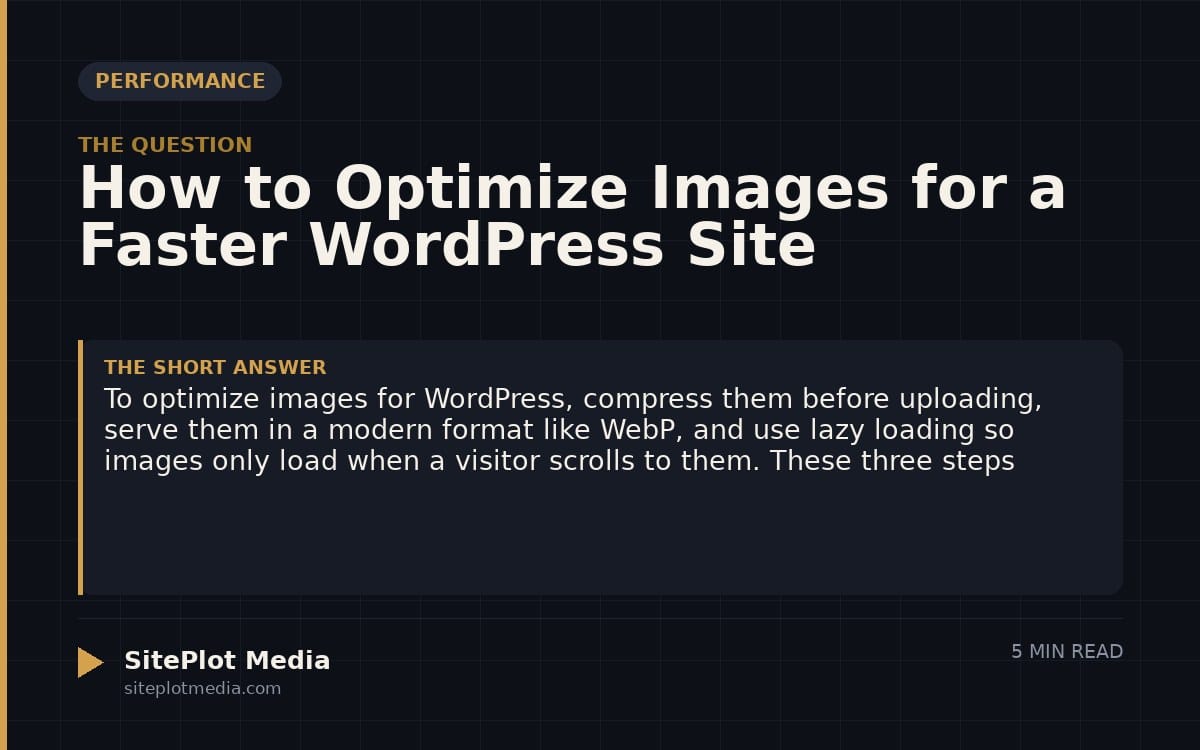
To optimize images for WordPress, compress them before uploading, serve them in a modern format like WebP, and use lazy loading so images only load when a visitor scrolls to them. These three steps alone remove some of the most common causes of slow page load times on WordPress sites.
Why image optimization matters more than most site owners realize
Images are typically the heaviest assets on any web page. When a visitor lands on your site, their browser has to download every image that appears on screen — and if those files are large, everything slows down. A slow site frustrates visitors, raises bounce rates, and signals to search engines that your pages aren’t delivering a great experience.
The good news is that image optimization is one of the highest-return improvements you can make to a WordPress site, and a meaningful portion of it can be done without touching a single line of code. You don’t need a developer for the basics — but you do need to understand what “optimized” actually means, because the term gets used loosely.
Step one: Choose the right file format before you upload anything
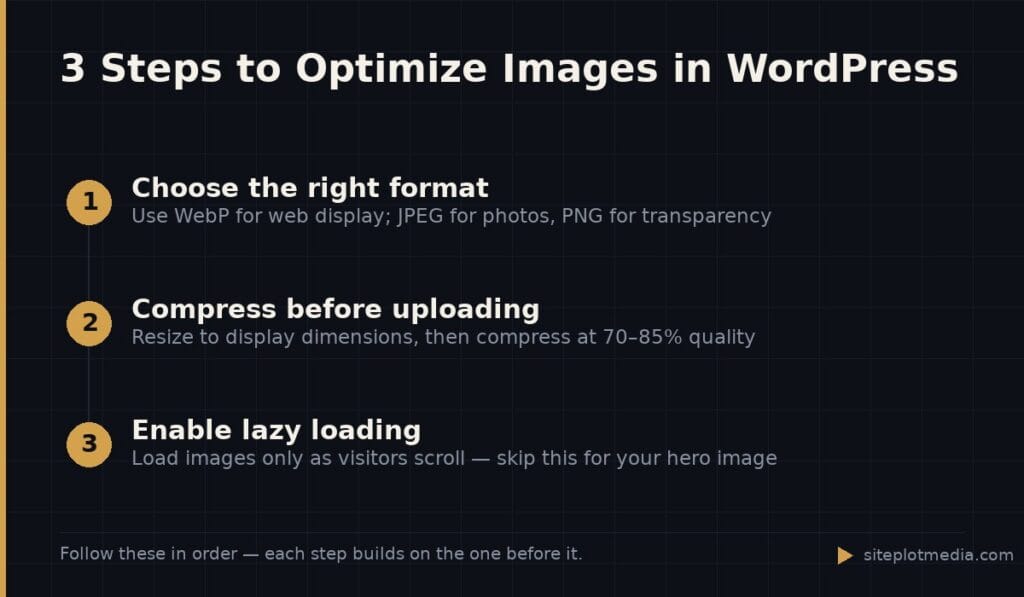
The format you save an image in determines its baseline file size before any other optimization happens. The three formats you’ll encounter most often are JPEG, PNG, and WebP. JPEG works well for photographs and complex images with lots of color gradation. PNG is best for graphics, logos, and images that need a transparent background. WebP is a newer format developed by Google that produces smaller file sizes than either JPEG or PNG at comparable visual quality — and modern browsers support it fully.
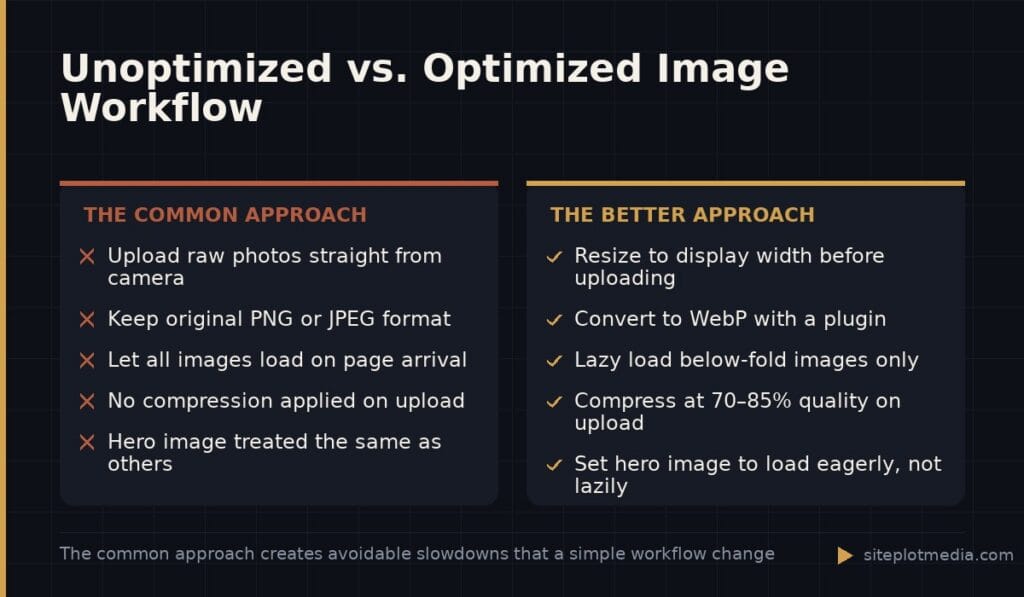
In practice, the right move is to serve WebP wherever possible. Several WordPress plugins (Imagify, ShortPixel, and Smush are commonly used options) can automatically convert your uploaded images to WebP and serve the converted version to browsers that support it. This conversion alone can meaningfully shrink the data a visitor’s browser has to download.
One honest caveat: WebP doesn’t support every edge case. If you’re exporting images for print or sharing files with clients in specific formats, that’s a separate workflow. For images displayed on your website, WebP is almost always the right choice.
This is the kind of thing we handle day to day — you can see how our build process works or browse recent work.
Step two: Compress images without visibly reducing quality
Compression reduces file size by removing data the human eye won’t notice. There are two kinds: lossless compression removes redundant data without changing how the image looks at all, and lossy compression removes more data and does introduce some quality reduction — but at moderate settings, the difference is invisible on screen.
For most business websites, lossy compression at 70–85% quality produces images that look identical to the original at a fraction of the file size. The plugins mentioned above handle this automatically when you upload. If you prefer to compress before uploading, free tools like Squoosh (made by Google) let you drag in an image, choose a format and quality level, and see a live side-by-side preview so you can judge the trade-off yourself.
One thing to avoid: don’t upload a 4,000-pixel-wide photo from your phone or camera directly to WordPress just because the plugin will compress it. Resize it to the actual display dimensions first — usually no wider than 1,200–1,800 pixels for most layouts. Compression works on the data in the file; it can’t fix a fundamentally oversized image the way resizing can.
Step three: Use lazy loading so images don't all load at once
By default, a browser tries to download every image on a page the moment someone visits it — even images that are far below the fold and the visitor may never scroll to. Lazy loading changes that behavior so images only download when they’re about to enter the viewport. WordPress has had native lazy loading built in since version 5.5, so if you’re on a reasonably current install, it’s already enabled for most images without any plugin required.
Where lazy loading gets complicated is with your hero image — the large image typically displayed at the top of the page. That image should NOT be lazy loaded, because it’s visible immediately and delaying it will actually hurt your performance score (specifically a metric called Largest Contentful Paint, or LCP, which measures how quickly the main visible content appears). Most modern themes handle this correctly, but it’s worth checking if you’re investigating a slow LCP score.
Plugin options worth considering — and honest trade-offs
Here’s a quick look at the most commonly used image optimization plugins for WordPress:
- Smush — Free tier is solid for basic compression and lazy loading. The paid version adds WebP conversion and CDN delivery.
- ShortPixel — Credit-based pricing model (you pay per image processed). Good for sites with large media libraries since you’re not paying a recurring fee to maintain already-optimized images.
- Imagify — From the team behind WP Rocket. Clean interface, good WebP support, and integrates well if you’re already using WP Rocket for broader performance work.
- Cloudflare’s free plan — Not an image plugin, but Cloudflare’s CDN (content delivery network) can serve your images from a server closer to each visitor, which reduces load time regardless of file size. The free tier is genuinely useful.
The honest answer on which to choose: for most small business sites with under a few hundred images, any of these will get you 90% of the benefit. Don’t spend hours comparing them. Pick one, run it, and move on to the next performance issue.
When DIY optimization isn't enough
Image optimization is one layer of site performance, not the whole picture. If you’ve compressed and converted your images and your site still loads slowly, the problem is likely elsewhere — server response time, too many plugins adding unnecessary code, an unoptimized theme (page builders in particular can add meaningful CSS and JavaScript weight to every page load), or lack of caching.
At that point, a performance audit by a developer is worth the investment. A thorough audit looks at your full loading waterfall — not just images — and identifies the specific bottlenecks in your setup rather than applying generic fixes. If you want someone to handle the audit and the fixes together, Siteplot Media offers a full site build with performance baked in from the ground up, starting at $5,000 with ongoing support available after the initial 90-day included period. That’s the right option if your site needs structural work, not just a plugin tweak.
But if your site is structurally sound and images are the main culprit, the steps in this post are genuinely enough to make a real difference — and you don’t need to hire anyone to do them.
Frequently asked questions
What is the best image format for WordPress?
WebP is the best image format for most WordPress sites because it produces smaller file sizes than JPEG or PNG at comparable visual quality. All major modern browsers support it, and several WordPress plugins can convert your existing images to WebP automatically.
Does WordPress automatically optimize images when you upload them?
WordPress does apply some basic resizing and generates multiple image sizes on upload, but it does not compress images aggressively or convert them to WebP by default. You need a plugin like Smush, ShortPixel, or Imagify to get meaningful optimization on upload.
How do I know if my images are slowing down my WordPress site?
Run your URL through Google PageSpeed Insights (free at pagespeed.web.dev) — it will flag oversized or unoptimized images specifically and estimate how much time you'd save by fixing them. Look for items labeled "Serve images in next-gen formats" or "Properly size images."
Is it safe to bulk-optimize existing images in WordPress?
Yes, and most image optimization plugins let you keep the originals as a backup before processing, which is the setting you want enabled. Run a bulk optimization on a staging site first if you have one, just to confirm the results look right before touching your live media library.
Will optimizing images improve my Google rankings?
Image optimization can improve page speed metrics that Google uses as ranking signals, particularly Largest Contentful Paint and overall load time, but it is one factor among many and no single change guarantees a ranking improvement. Faster pages do tend to reduce bounce rates, which is a genuine benefit regardless of any direct ranking effect.